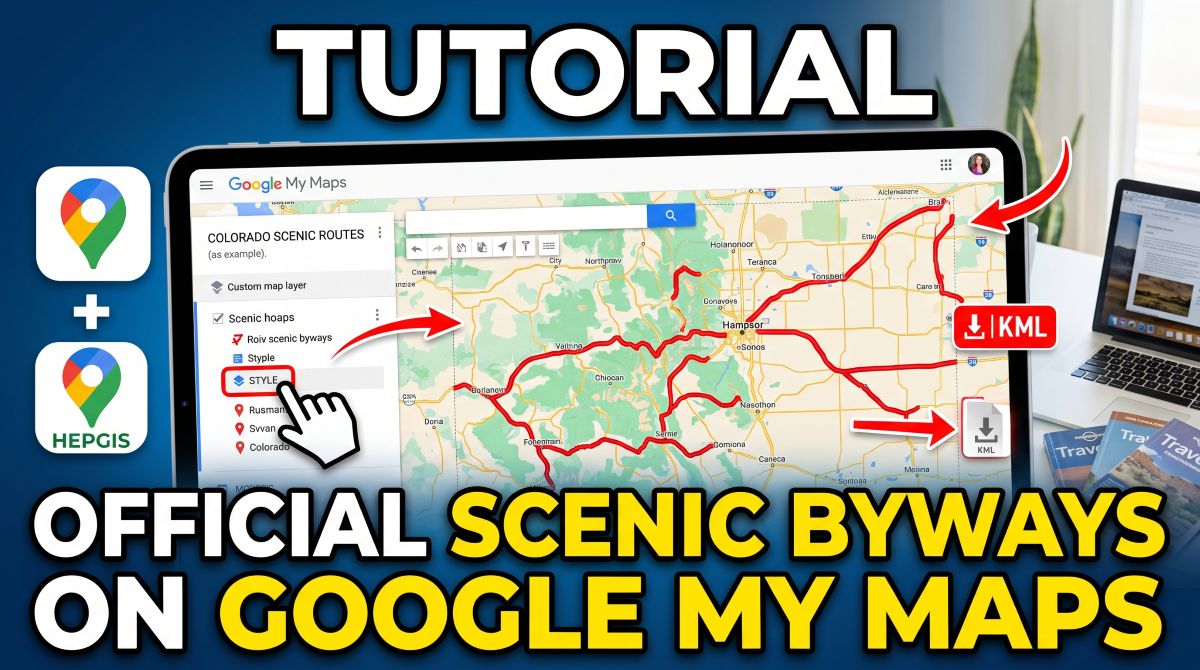
Planning a road trip along America’s most breathtaking corridors starts with getting the exact, government-designated routes directly onto your phone. While the Federal Highway Administration (FHWA) maintains raw geospatial data for all America’s Byways, the site is difficult to use. More importantly, importing the entire nationwide dataset crashes Google My Maps due to strict file size limits. It is best to do this State by State.
NOTE – Texas and Hawaii require a different method. More about these two states in a future post.
Here is how to extract, filter, and map your state’s official Scenic Byways directly into a custom Google My Map.
Phase 1: Access the Raw Geospatial Dataset
To download route data, bypass the read-only map interface and head straight to the raw layer portal.
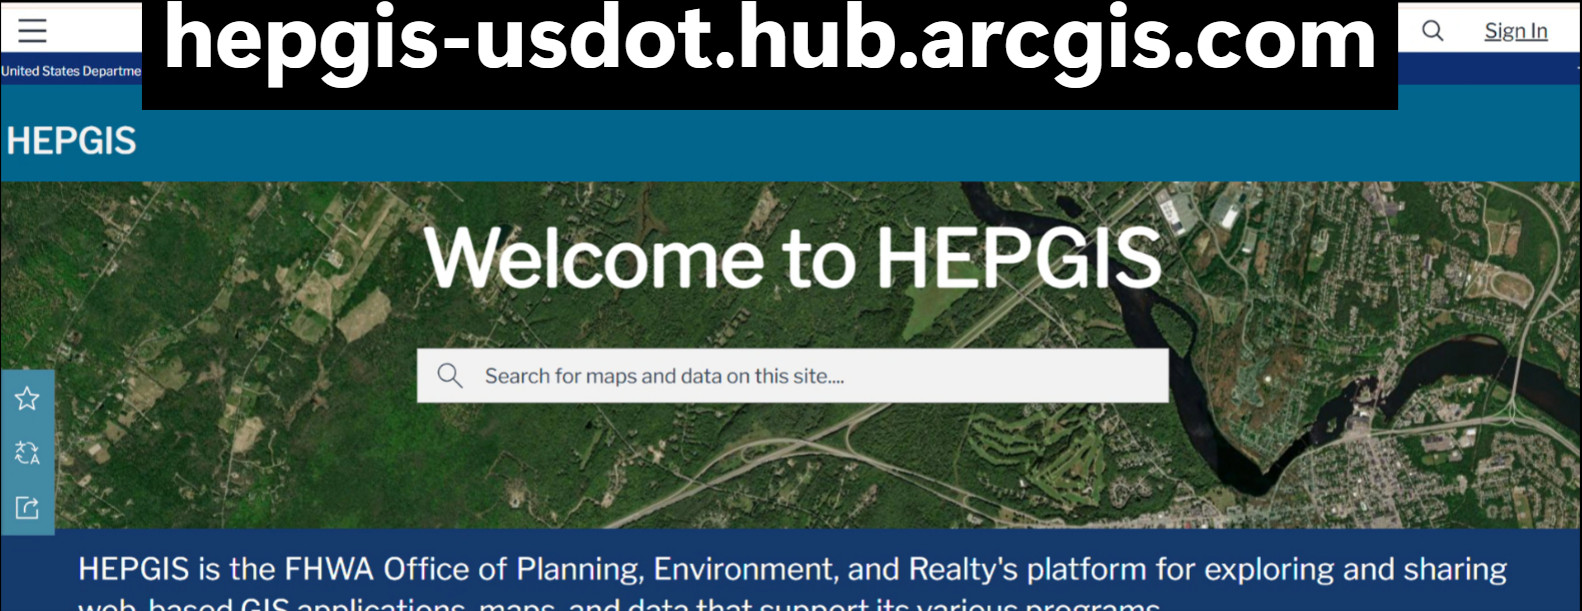
- Open the Portal: Navigate to the USDOT / FHWA HEPGIS hub (
hepgis-usdot.hub.arcgis.com). - Access the Feature Layer: If you land on an interactive viewer lacking export controls, click the Pop-out icon (↗) in the upper-right corner near “Sign In.” Alternatively, type
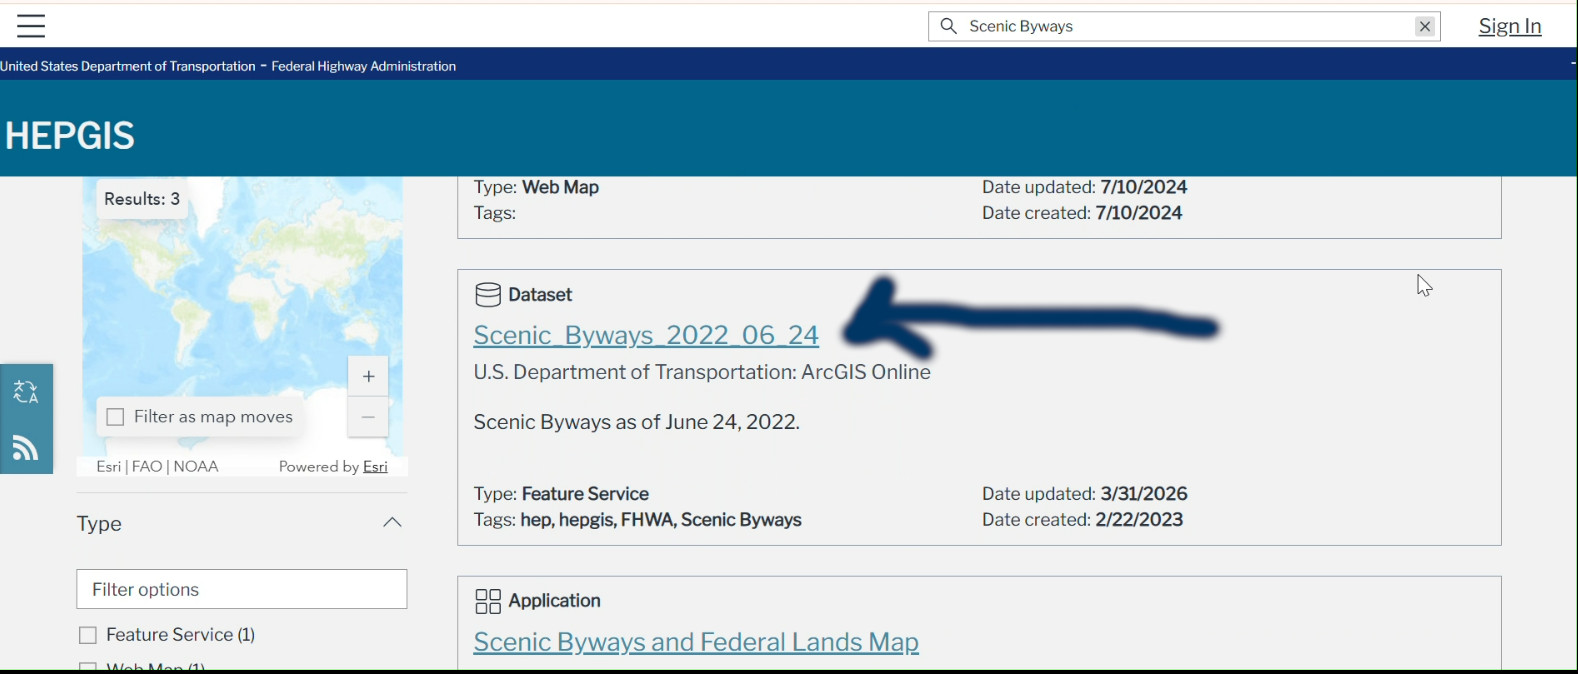
Scenic Bywaysin the top search bar (🔍) and select the result specifically labeled Feature Layer (avoid entries labeled “Application”).
Phase 2: Filter by State (Bypassing the 5MB Google Limit)
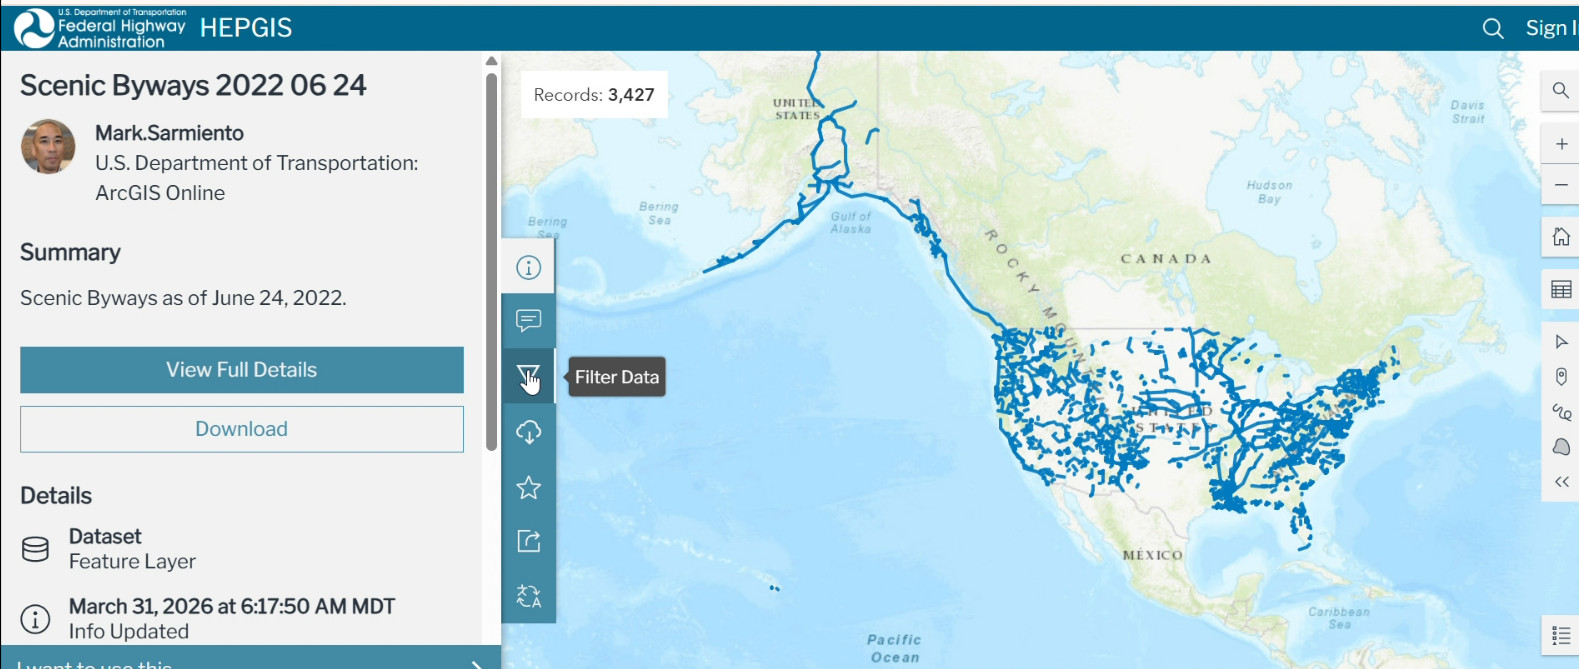
The complete national dataset contains over 3,400 individual segments, easily exceeding the 5MB import limit on Google My Maps. Filtering by state slashes the file size instantly.
- Open the Filter Menu: Click the Filter Data icon (▽) on the far-left vertical sidebar.
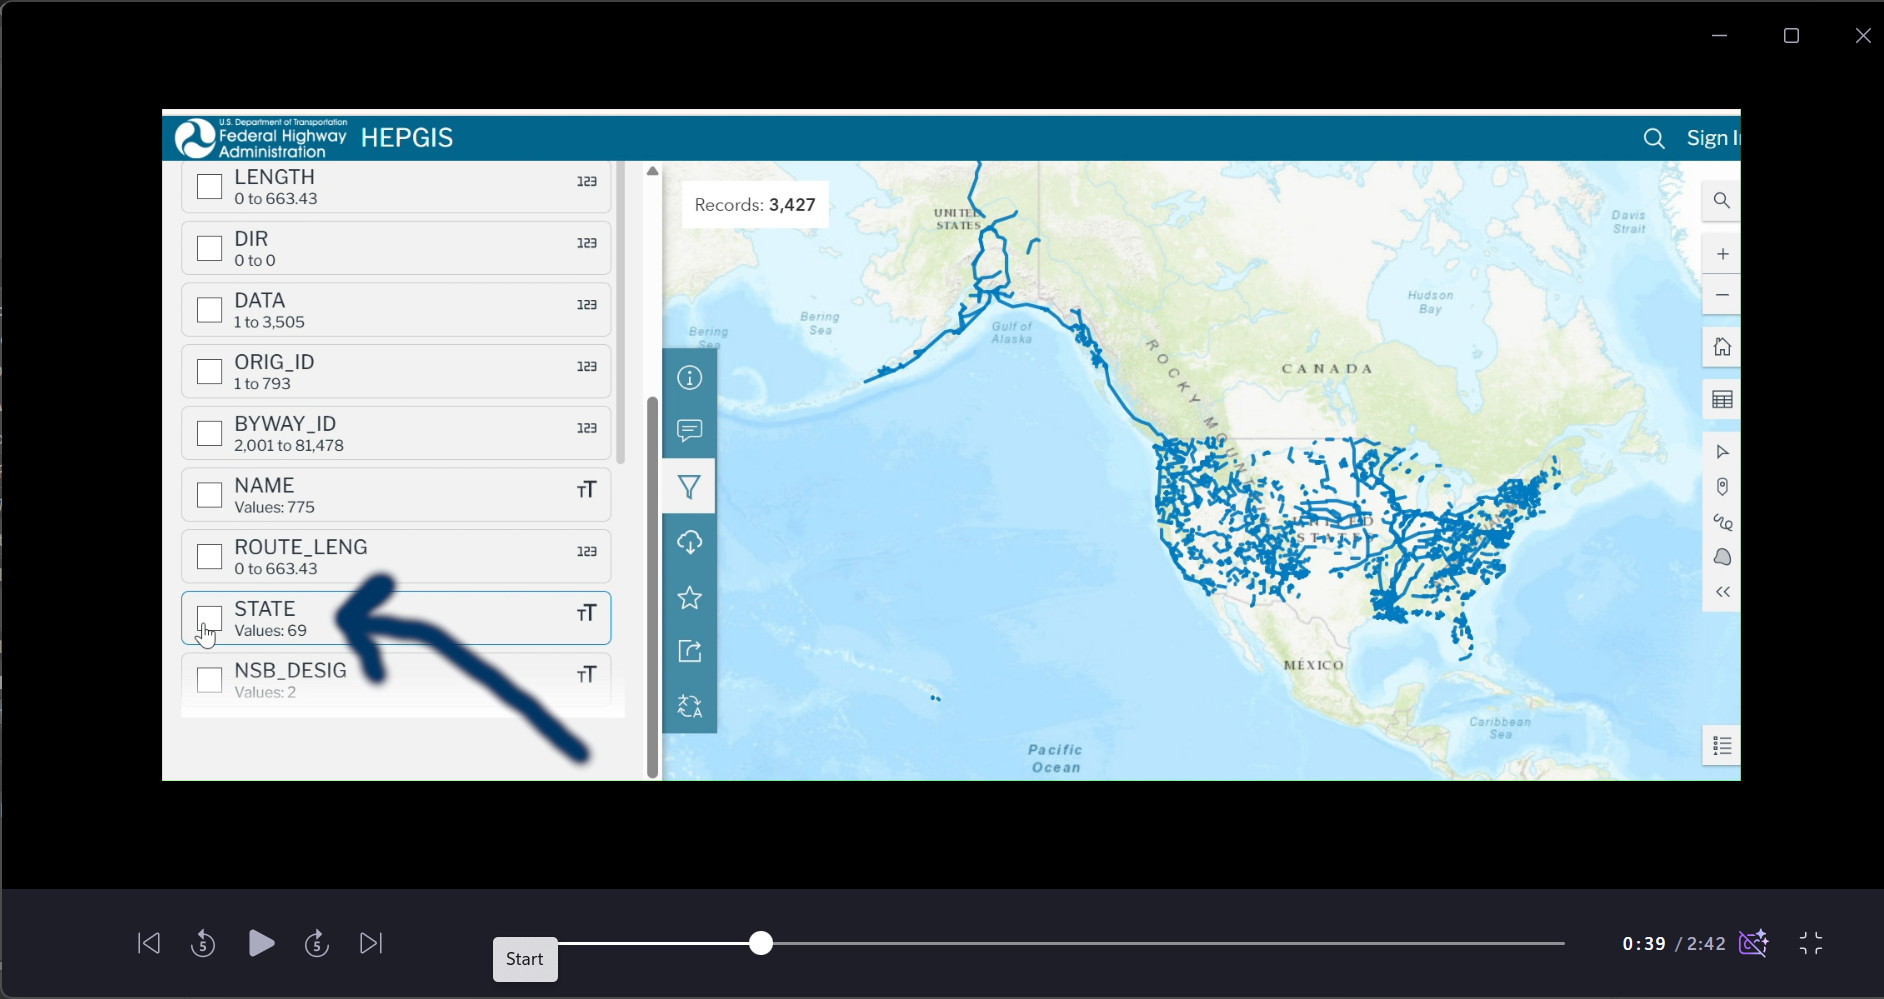
- Locate the State Attribute: Under “Select attribute filters,” scroll down to find the STATE attribute.
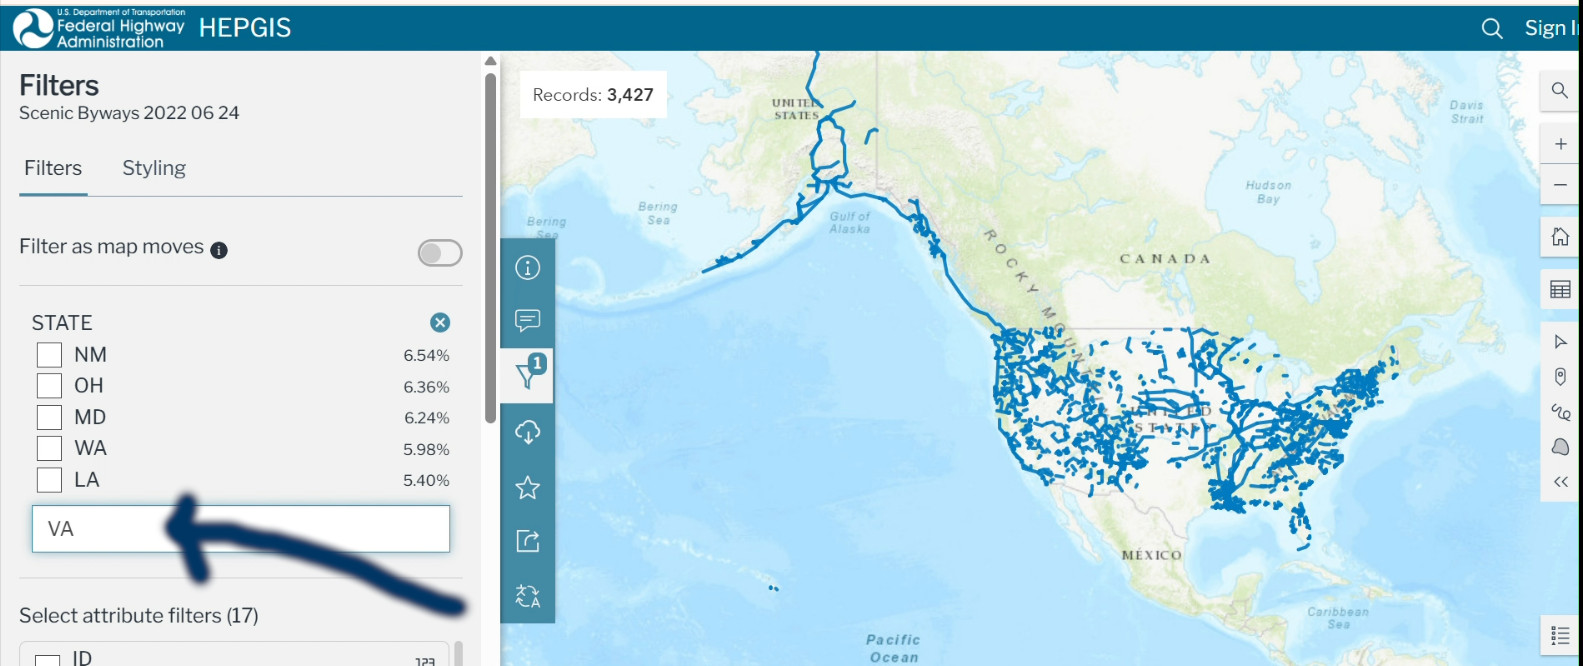
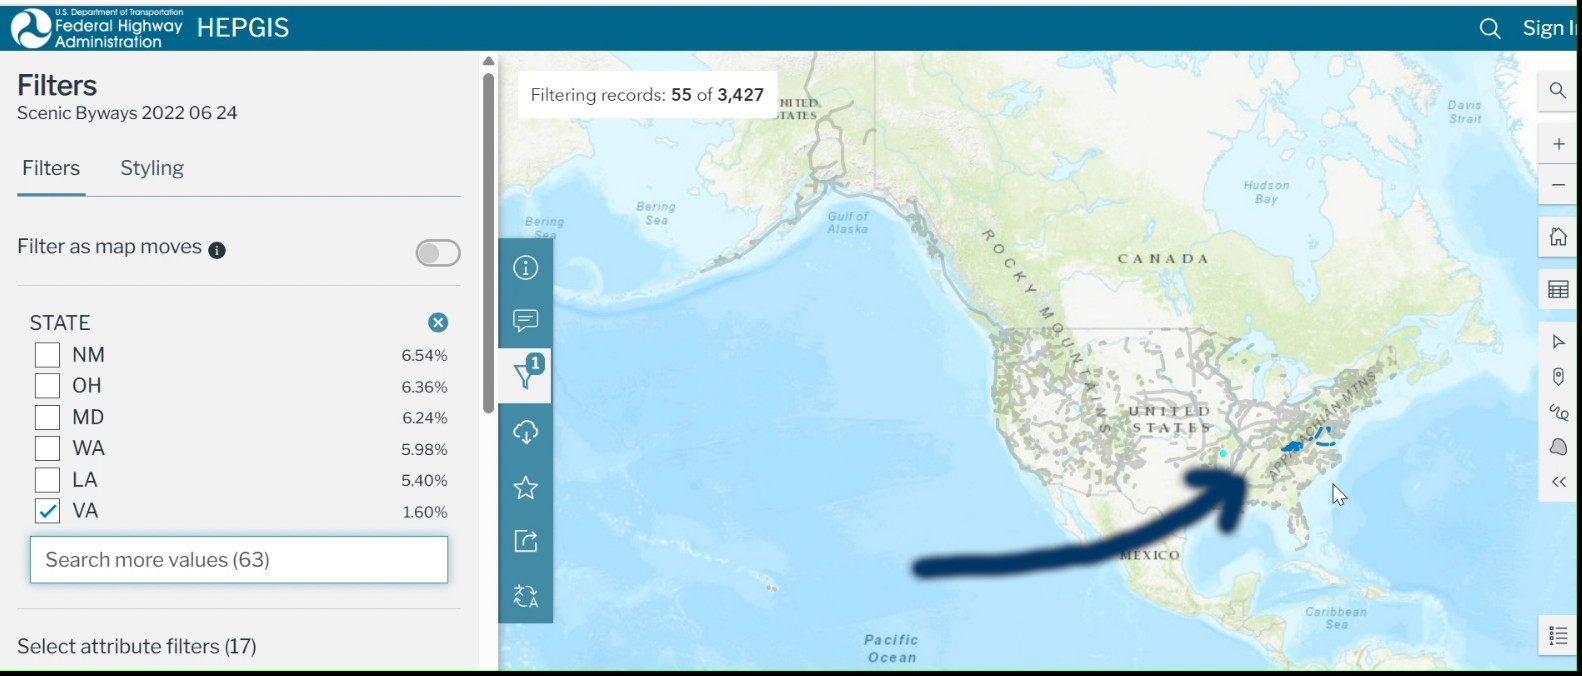
- Select Your Target State: Expand the STATE row and check your chosen state (or search using your state’s 2-letter postal code).
- Verify Record Count: Check the header summary. The total record count should drop from ~3,427 to your state’s specific allotment (typically between 20 and 150 segments).
Phase 3: Export the Geospatial Layer
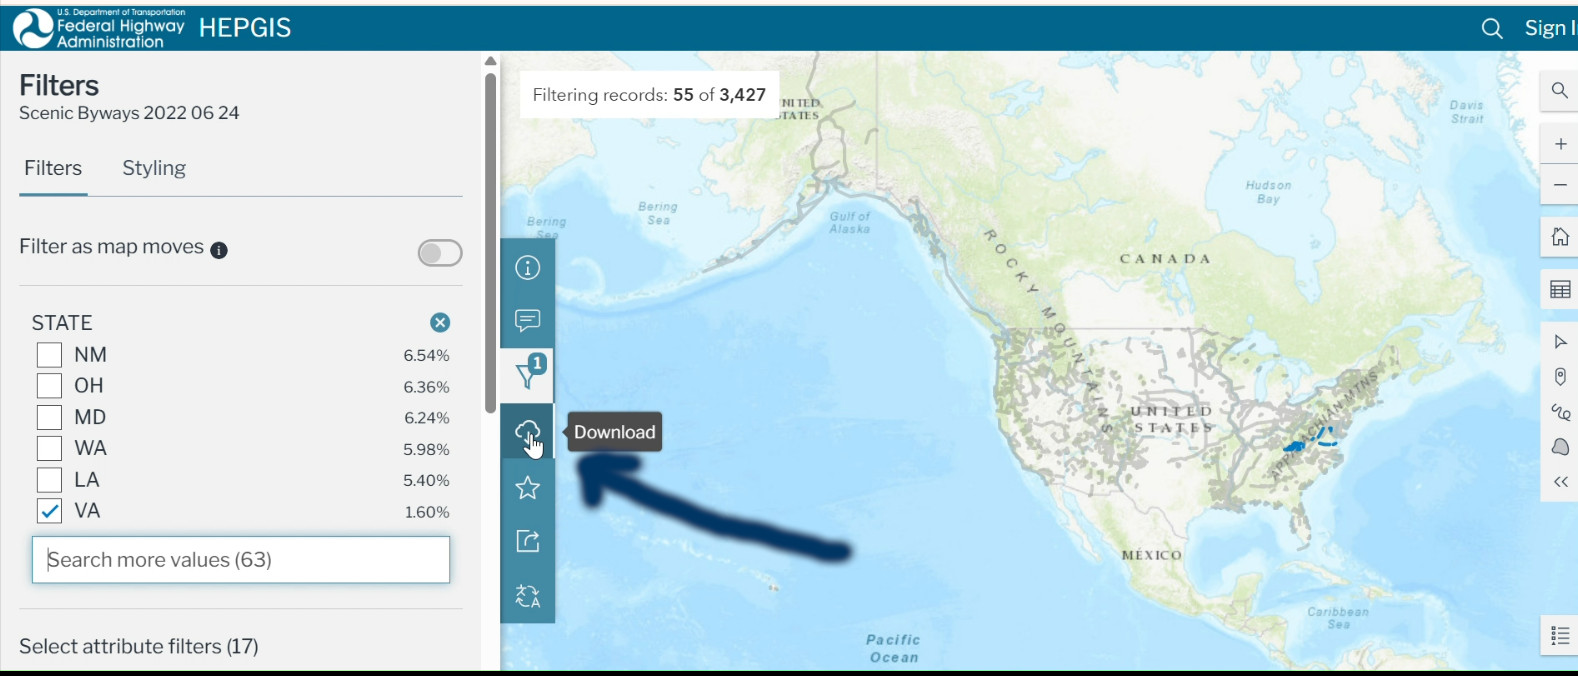
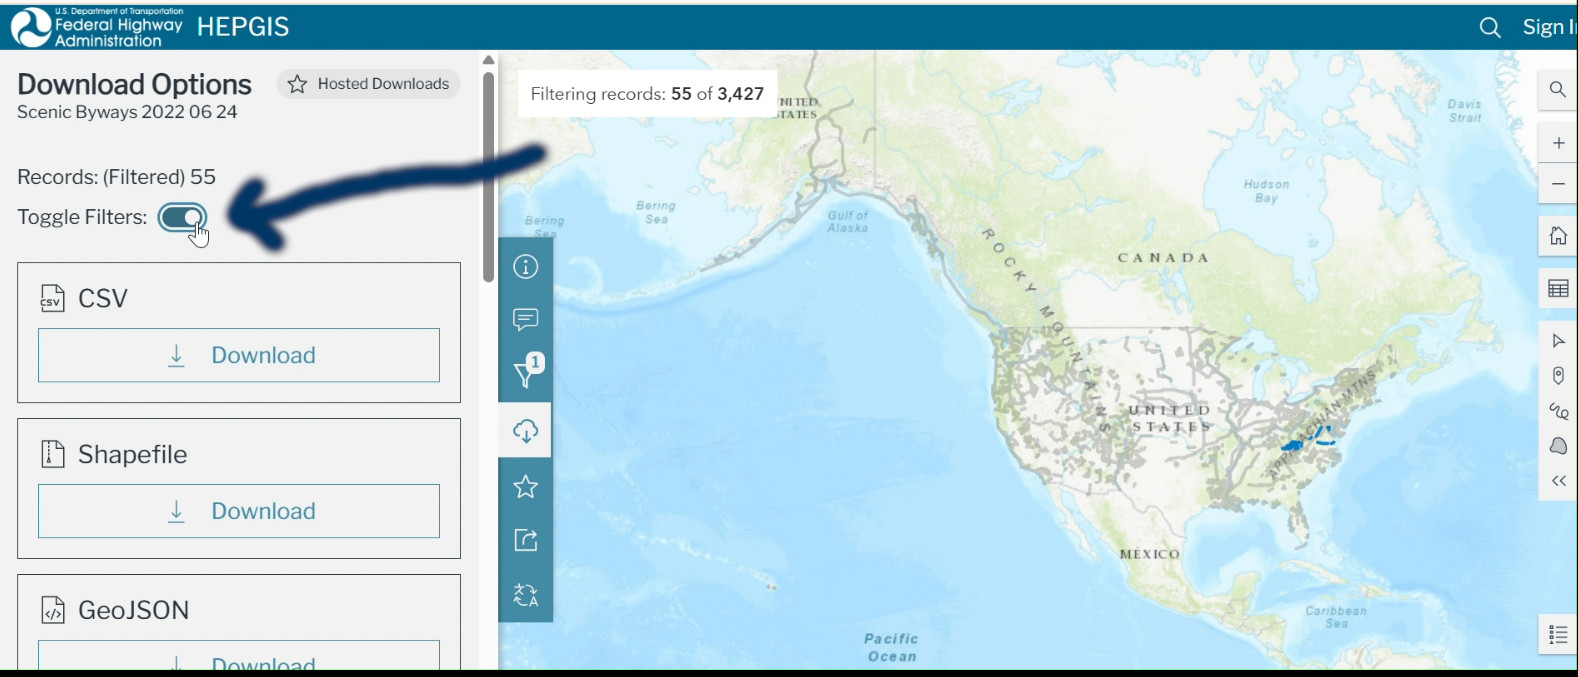
- Open Download Panel: Click the Download icon on the left navigation bar.
- Export Filtered Data: Ensure the toggle is set to Filtered Data / Toggle Filters so you do not accidentally pull the entire national file.
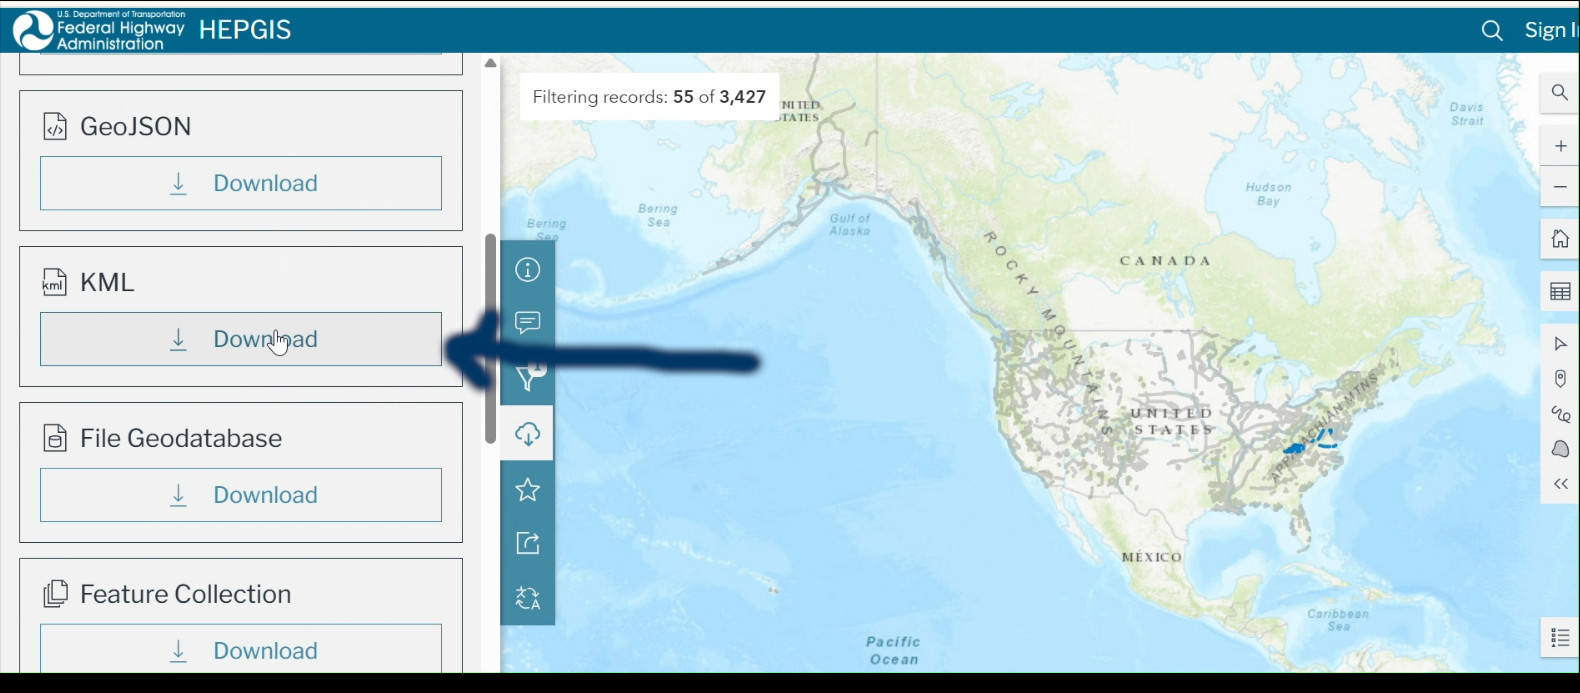
- Download Format: Select KML (or KMZ) and save the file to your local computer.
Phase 4: Import and Style in Google My Maps
Transform the raw vector lines into an easy-to-read, high-contrast overlay.
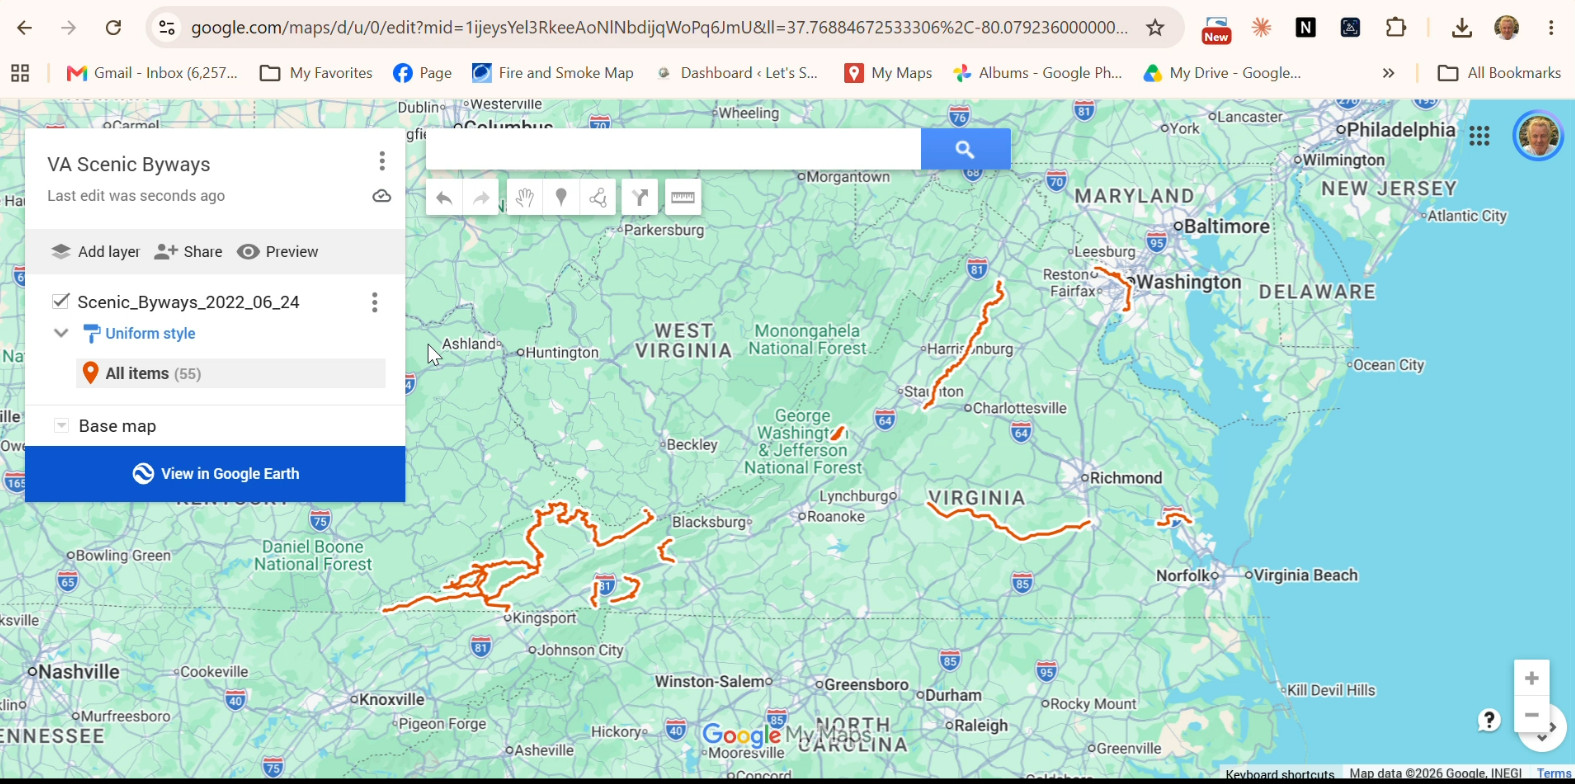
- Create Map: Go to google.com/maps/d/ and click + Create a New Map. Name your map:
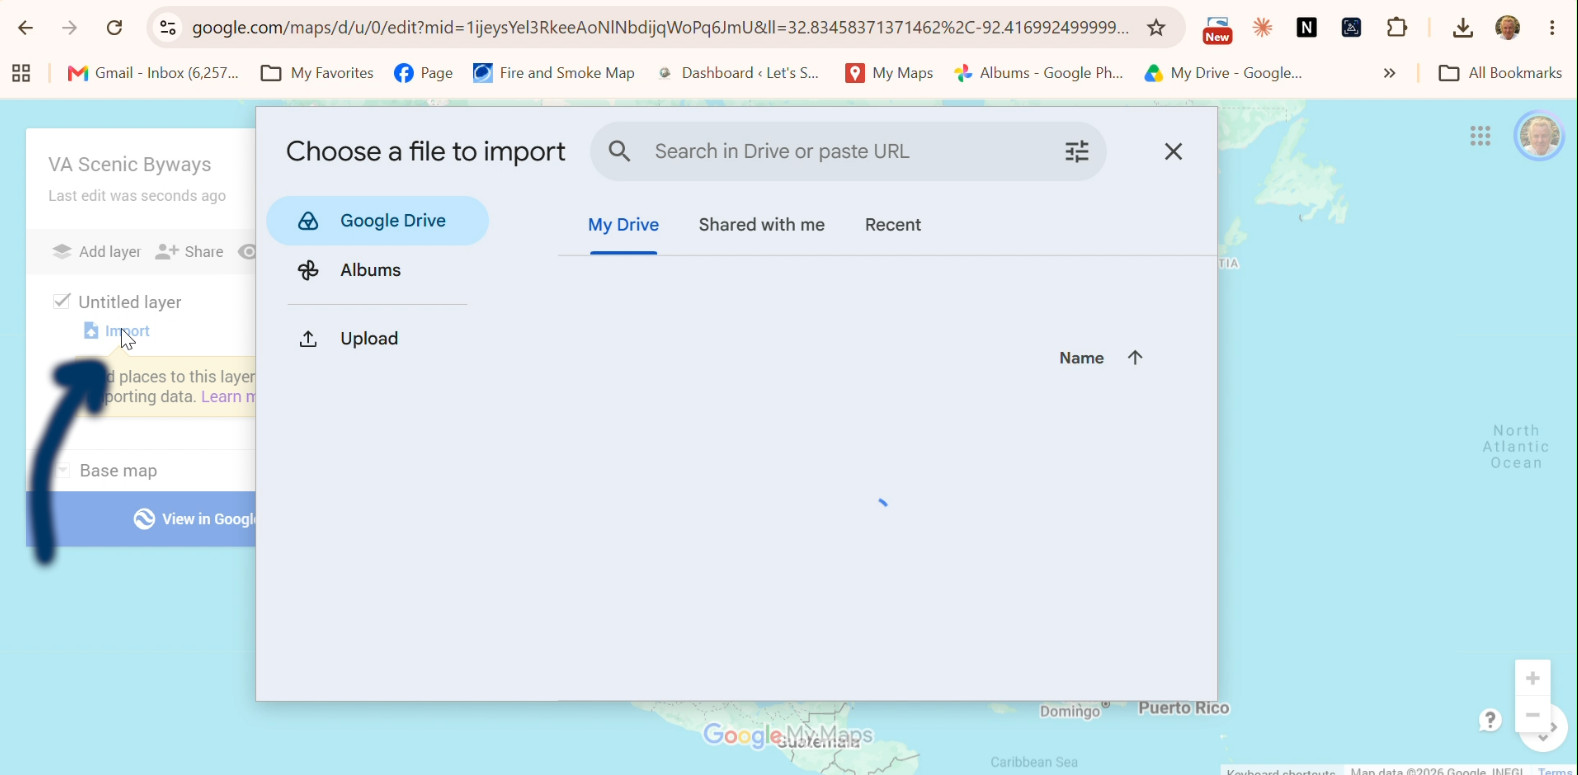
[STATE] Scenic Routes. - Import Layer: Click Add Layer, select Import, and upload the KML file you just downloaded.
- Set Visual Style:
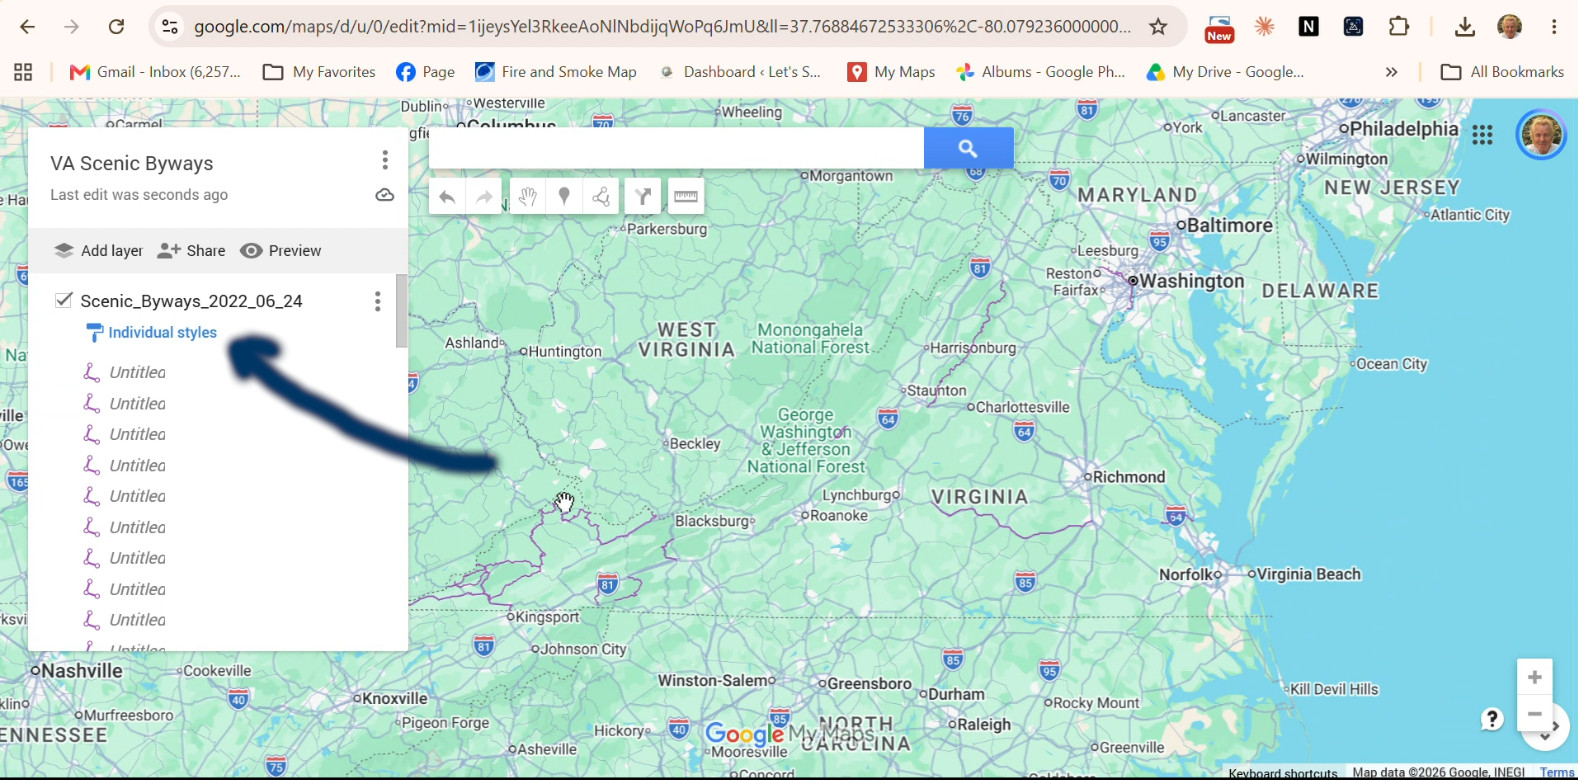
- Click Style (or Uniform style) on the newly imported layer.
- Click the Paint Bucket icon next to All items and choose a high-visibility color like Red.
- Adjust Visibility: In the color palette popup, set the Line width slider to 2 pixels to ensure the routes remain distinct against background highways without cluttering local street labels.
Open in the Google Maps App
Once styled, open the standard Google Maps app on iOS or Android, go to You → Maps, and toggle on your new [STATE] Scenic Routes map to navigate scenic corridors directly on the road.